
Table of Content
If you want to make your website more spacious and interactive, Off-Canvas menu might be the best solution for you. Off-Canvas menu is such a menu that gets triggered with certain actions like click, mouse scroll, or other events. Some people also call it a flyout menu, side menu, slide menu, and so on. If you are using the premium version of Elementor, you do not need additional plugins to create the Off-Canvas menu. In this tutorial, I am going to explain step by step to create an Off Canvas Menu with Elementor Pro.
1. Pros of Off Canvas Menu
Off-canvas menu is the latest trend on the web market. Basically, the off-canvas menu helps to provide better user experience to your website users while making the site navigation a lot easier. Additionally, your website will look more interactive and spacious if you are using the off-canvas menu.
2. Requirements
Elementor Pro, You can easily create an off canvas menu with Elementor Pro. This process will work with all themes so you do not need to worry about the theme you are using. Further, you do not need any additional plugin to add the off-canvas menu to your website.
3. Create Header
First of all, you need to create a header template using the theme builder of Elementor Pro.
To create a custom header, Go to Templates >> Theme Builder and click on Add New button at the top.
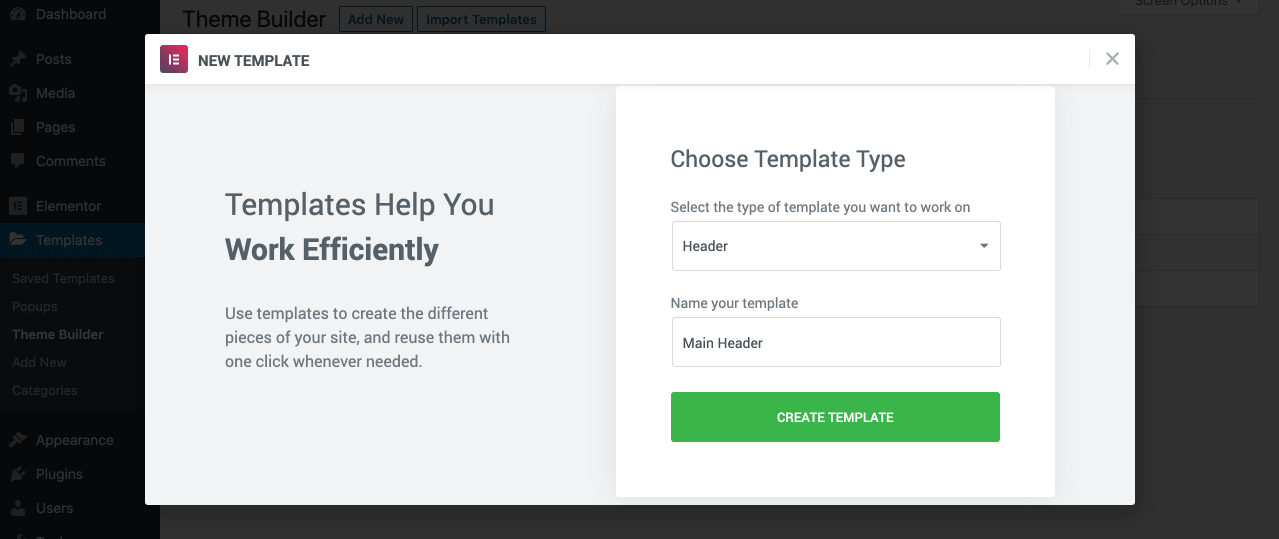
Select Header from the dropdown and name your template as per your wish. As this is going to be the main header of our site, I have named it Main Header.
Click on Create Template button to create the header template.
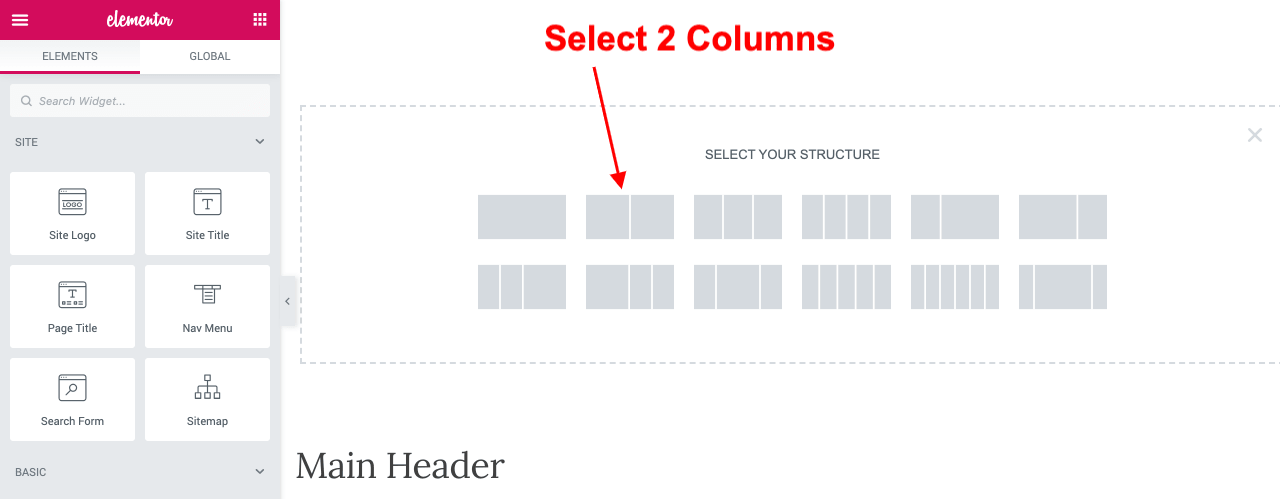
After creating a template, select 2 columns structure as shown in the above screenshot. On the left column, you can add a site title or logo as per your requirement.
On the right column, add icon widget, select bars icon and align it right as shown below. You can change color, size, and other options of the icon if needed.
Publish the template for the entire site or you can add condition according to your requirement.
4. Create Menu

- Go to Appearance >> Menus & click on ‘create a new menu’
- You can name it Main Menu or anything you want
- Add available options like Pages, Posts, Categories, Custom Links or other if available
- Assign it to Primary menu or other location according to the theme you are using
- Click on Save Menu button to publish the changes
5. Create Popup
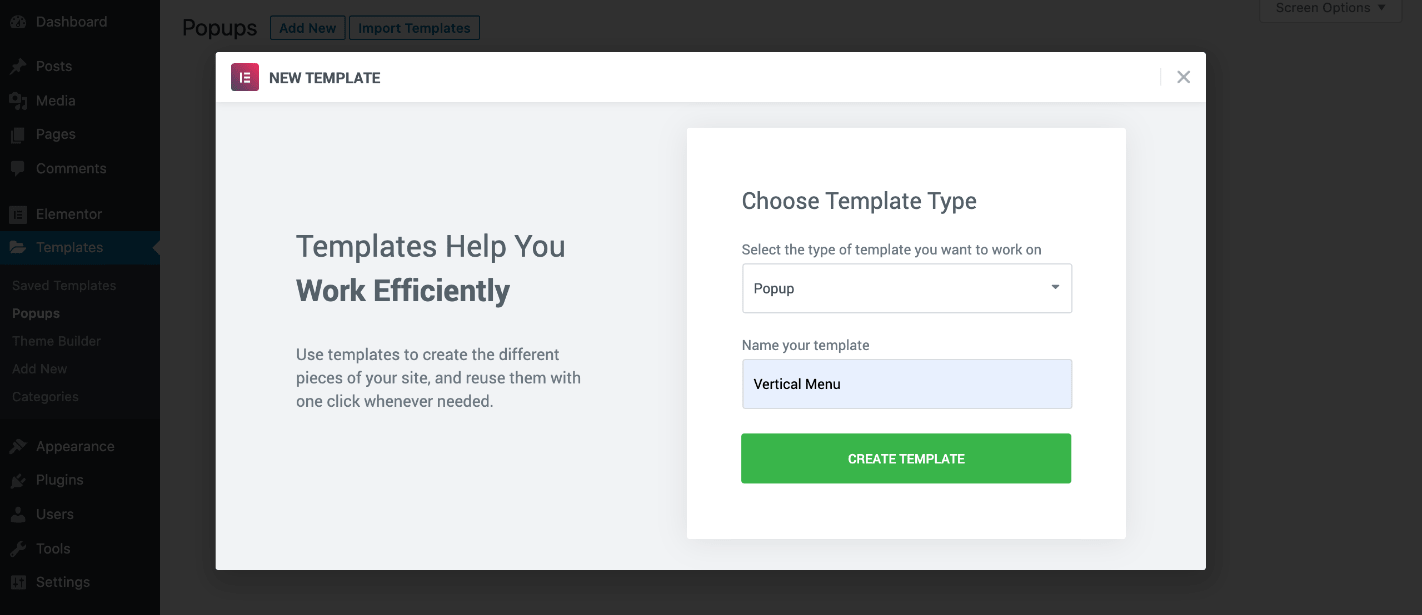
To create a popup, Go to Templates >> Popups and click on the ‘ADD NEW POPUP’ button. Give it a name and create a template.
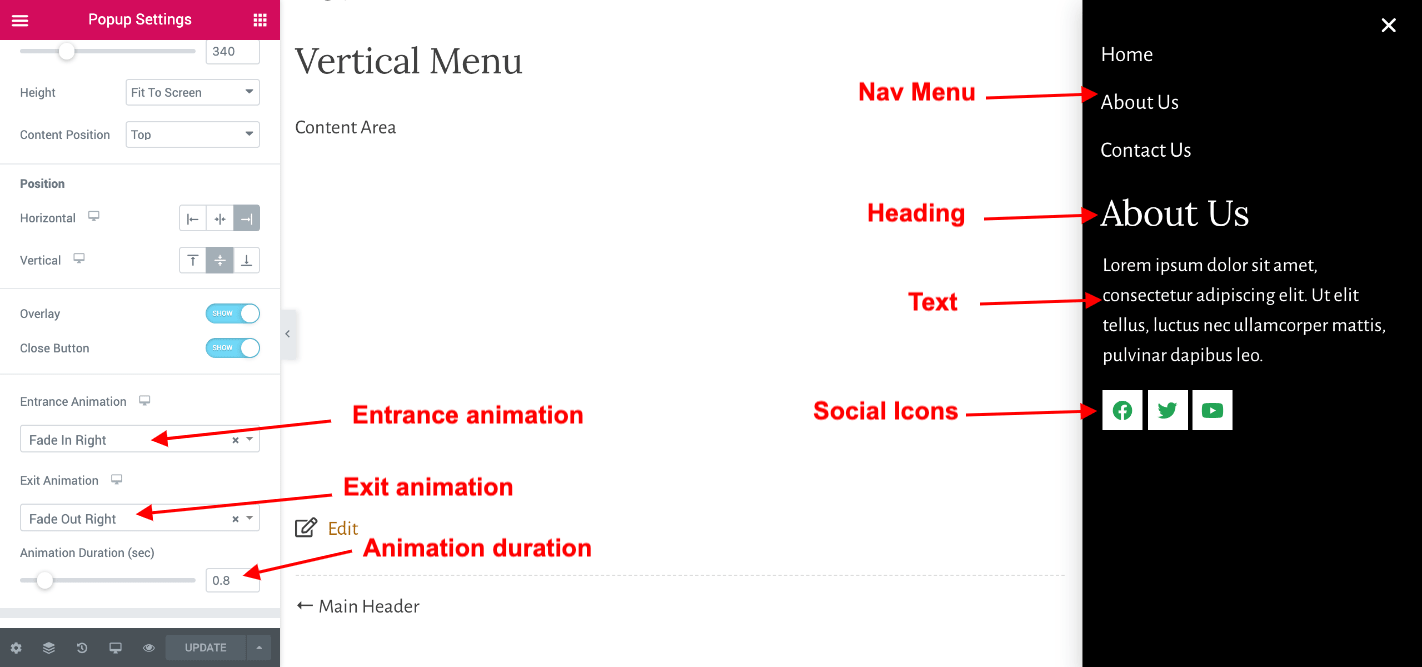
Click on setting icon at the bottom left corner of a screen to change the options of a popup as shown in the image below.

Now, drag and drop ‘Nav Menu’ to the popup section that has been created recently.
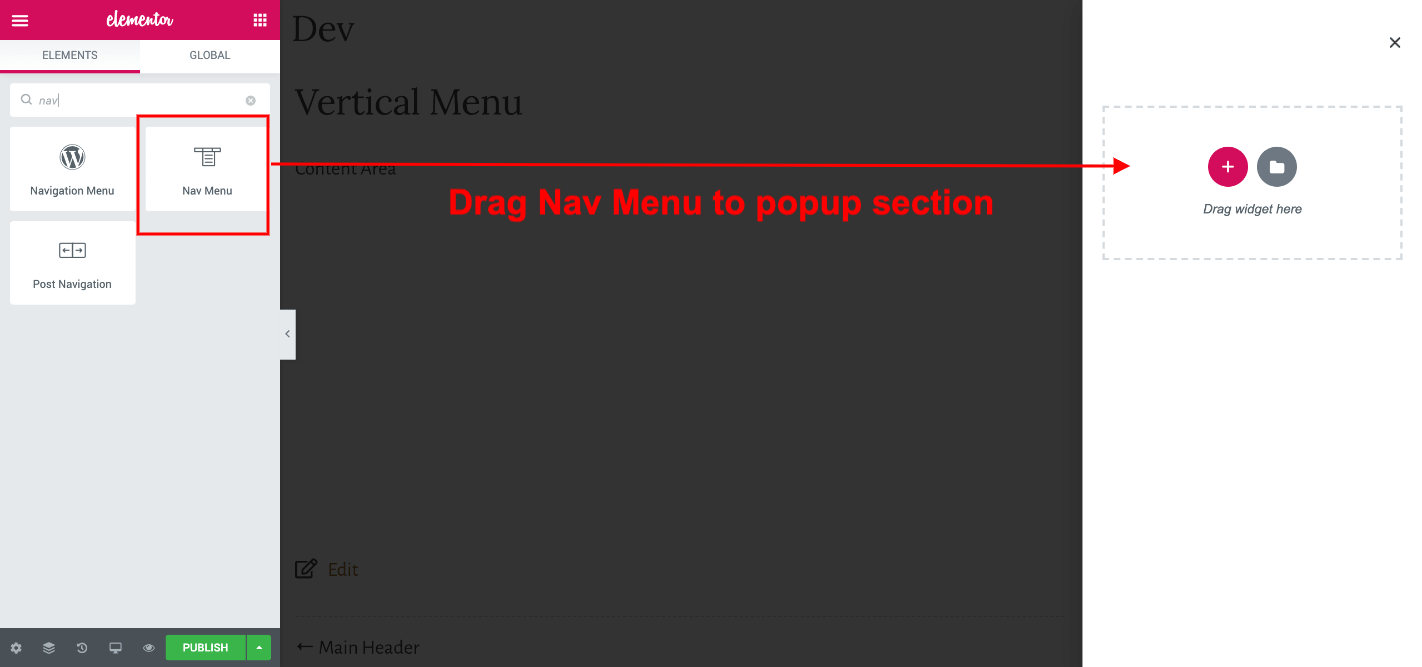
After adding Nav Menu to the popup section, select Main Menu from the dropdown, choose Vertical Layout, and None for Breakpoint on the Mobile dropdown. Additionally, you can change the color of the menu, font size, padding, and other styling options as per your design.
Further, you can add other widgets on the popup window. In this demo, I am going to add Heading for About Us, short content and social icons.
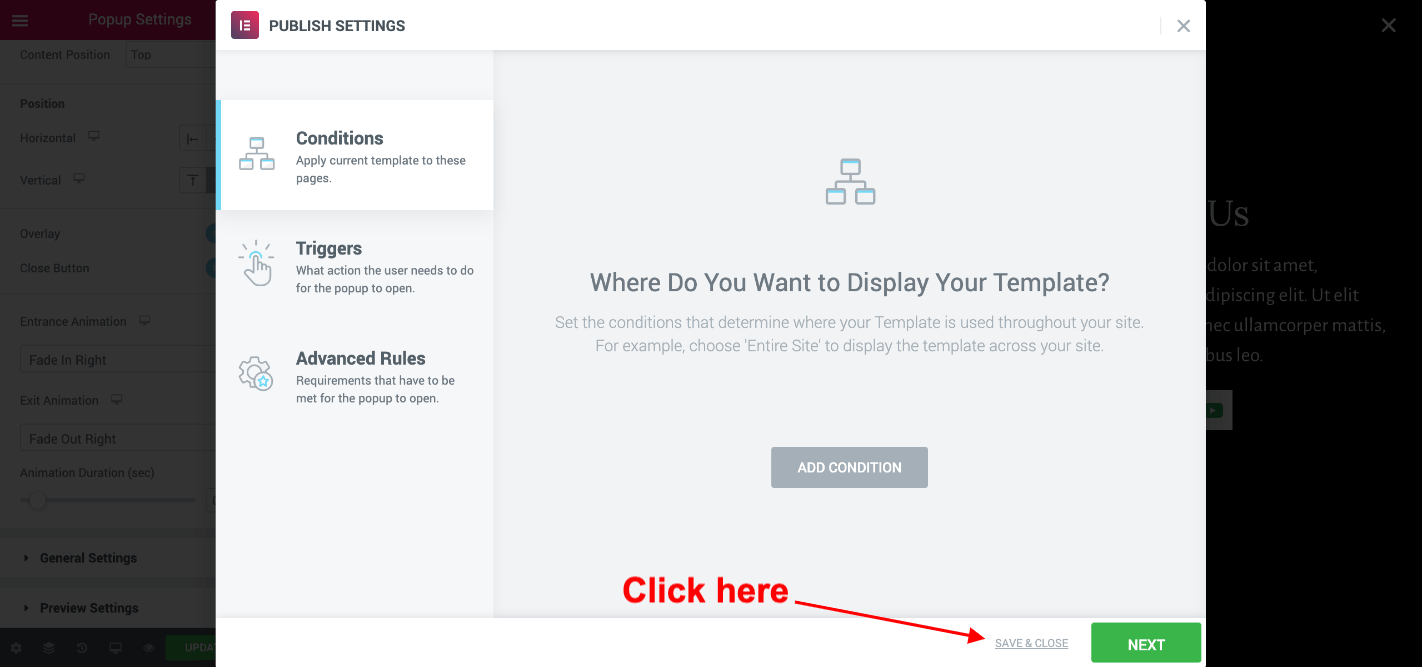
Now, click on the Publish button at the bottom left of the screen. You will see 3 different options for Conditions, Triggers and Advanced Rules.
We do not need any of these rules so click on the ‘SAVE & CLOSE’ link as shown in the screenshot below.
6. Add Popup Trigger to Bars Icon
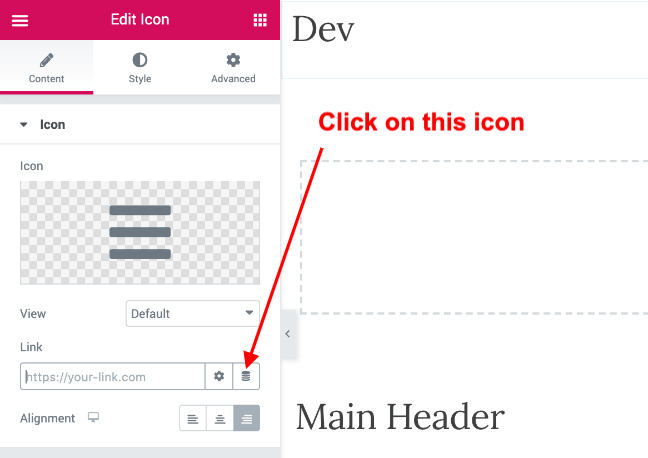
Go to Templates >> Theme Builder and Edit Main Header with Elementor. Click on the Bars icon that we have added on the right part of the main header.
Click on Dynamic Tags icon as shown below
Add Popup, select options available and choose the Popup template that we have recently created. The name of the popup is Vertical Menu in our case.
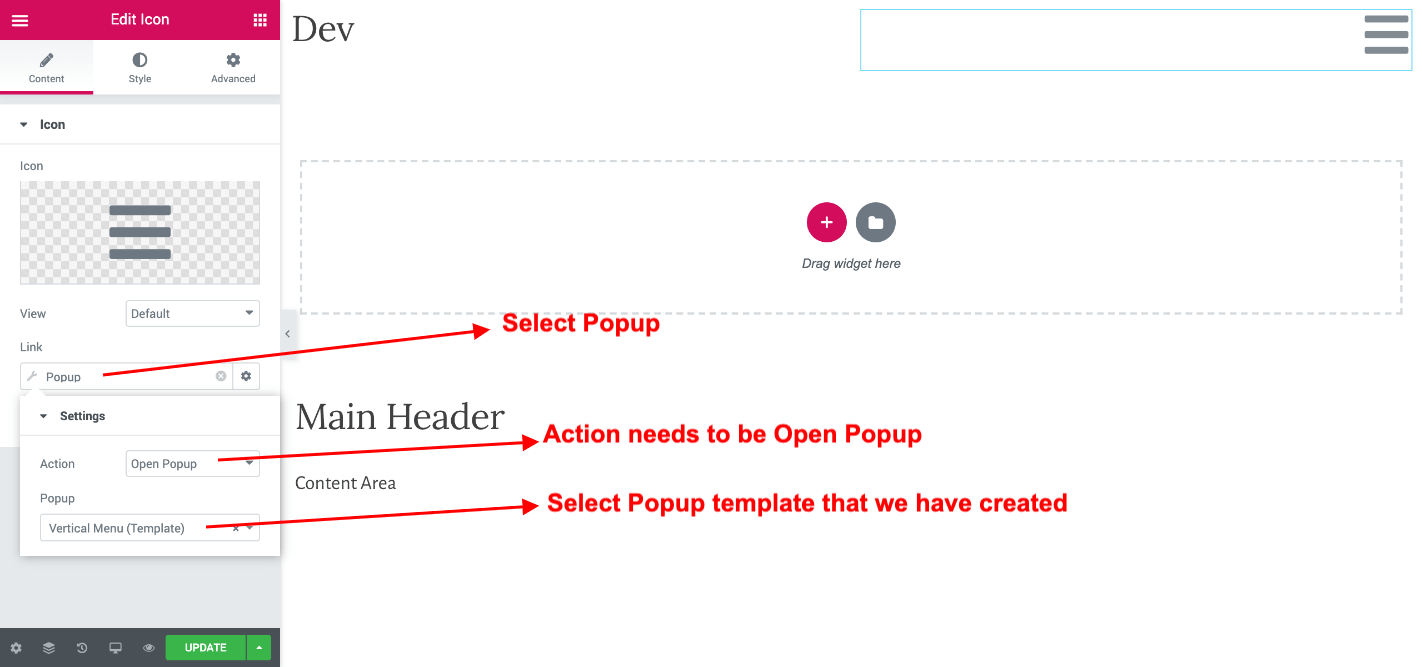
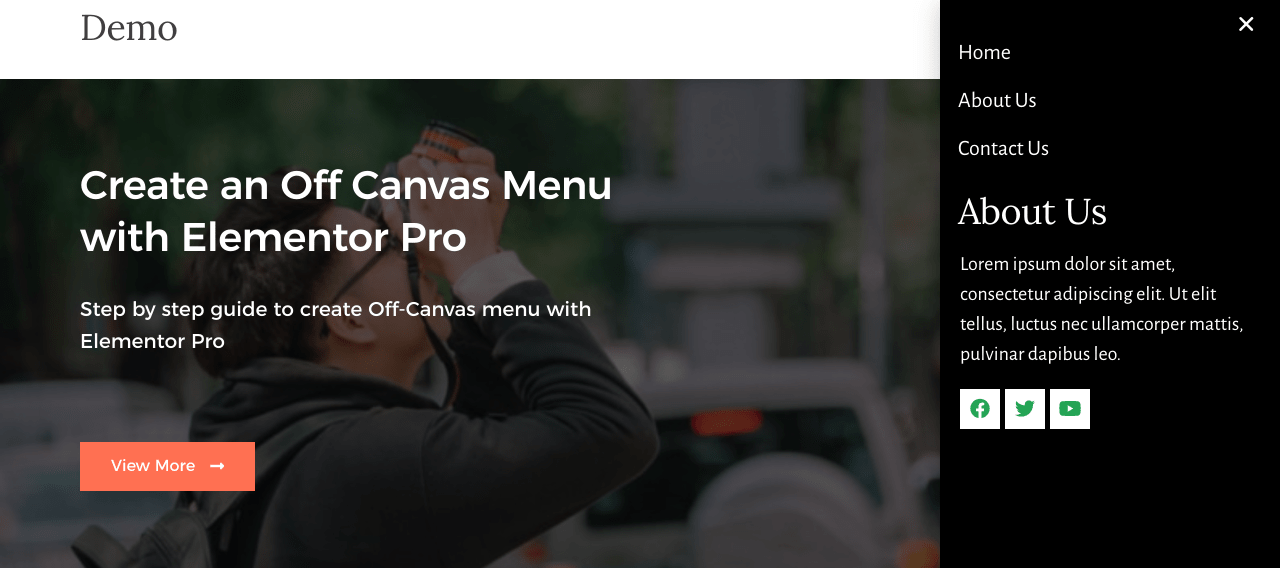
With this, we are done with adding an off-canvas menu with Elementor Pro. You can see the screenshot of the final output below.
7. Summary
Creating an off-canvas menu with Elementor Pro is pretty simple. I have explained each and every process to create an off-canvas menu in this article. You can check the video which is available at the top of this article to get a clear idea. If you have any feedback, suggestion, or alternative way to create an off canvas menu with Elementor Pro, please contact me here or leave a comment below.
Just awesome. Great help to make the menu really tailor made without any restrictions. Well done.